Getting Started : WordPress + WooCommerce
A. Important Notes
1. Please take note that this tutorial is for:
- Merchants with WordPress site.
- Merchants with WooCommerce Plugin already installed with the WordPress site.
2. Before you proceed with the tutorial, please take note of the steps that you will need to complete for the integration:
- Read the installation detail here.
- Install the plugin to WordPress.
- Get your Merchant ID & Secret Key for the integration from senangPay.
- Insert your Merchant ID & Secret Key to your WooCommerce setting in WordPress.
- Finally, test your shopping cart
3. For Existing Plugin Users:
If the merchant is already using our WooCommerce plugin, they might encounter a message about senangPay settings are incomplete. This is because the senangPay plugin updates requires additional configuration.
Here’s what they need to do:
- Go to WordPress dashboard.
- Navigate to Settings > Payments.
- Choose senangPay from the payment gateway options.
- Enter your Merchant ID and Secret Key. You can find these credentials in your senangPay dashboard.
B. Download the senangPay Plugin
1. Please download the plugin from the WordPress site.
2. You can also install the plugin directly from your WordPress admin panel.
3. The files name is senangpay-payment-gateway-for-woocommerce.
C. senangPay Shopping Cart Integration Link
Next, you need to get your merchant ID and Secret Key.
1. Login to your senangPay Dashboard.
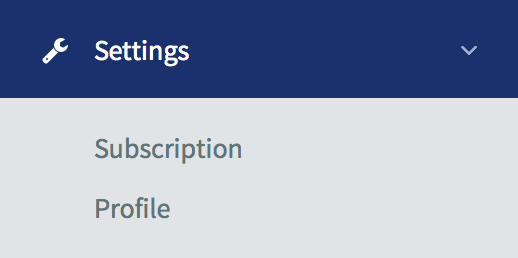
2. Go to Menu > Settings > Profile
3. Scroll down the page until you see the “Shopping Cart Integration Link” section.
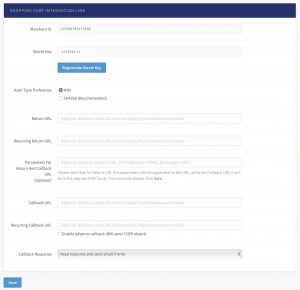
4. Copy the “Merchant ID” number and the “Secret Key” number.
5. Then you will need to fill in the return URL. This is the URL where senangPay will redirect the buyer to after the payment has been processed. The URL can be any of your site’s URL. For example :
- http://your_domain.com/checkout/
to redirect the customer to “my account” page after payment.
6. Please set the callback URL to be the same as your return URL such as:
- http://your_domain.com/checkout/
7. Please set the Callback Response to “Ignore the response”.
D. WooCommerce Setting
Now, this is almost the last part of the set up. You need to setup your WooCommerce setting.
1. Login to your WordPress site.
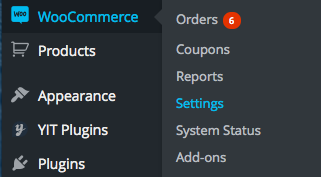
2. Go to the WooCommerce Plugin Setting. Click Menu > WooCommerce > Settings
3. Click on the “Checkout” tab, and click on the sub tab “senangPay.”
4. You should see a setting page as displayed below.
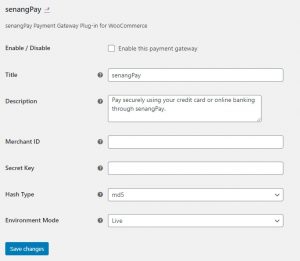
5. By default the hash type will be md5, but you may change it later sha256 which is strongly recommended by senangPay. You may refer to the hash type defined in senangPay dashboard.
6. To enable senangPay Payment Gateway, tick on the checkbox.
7. Insert any preferred title on the title field.
8. Insert any preferred description on the description field.
9. Insert your “Secret Key” that you copied from your senangPay Dashboard.
10. Insert your “Merchant ID” that you copied form your senangPay Dashboard.
11. Next, click “Save Changes.”
E. Testing your integration
Now, this is the last part. You need to test whether your integration is working or not.
1. Go to your Online Cart page.
2. Select any product, and add to cart.
3. Then, proceed to Checkout.
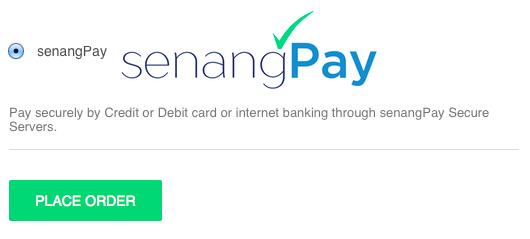
4. You should see that the payment option to pay with senangPay is visible.
5. Congratulations, your Online Business is now on another triumph level!
Please take note that :
- You must make sure that you have installed WooCommerce plugin before you install the senangPay plugin, otherwise, your WordPress site will be a blank screen.
- If you want to uninstall your WooCommerce plugin, please uninstall the senangPay plugin first, then WooCommerce plugin otherwise, your WordPress site will be a blank screen.
Our payment gateway isn’t appearing on your checkout page ?
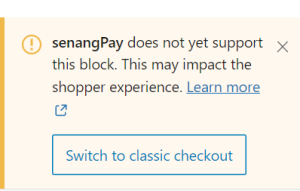
Merchants should access the menu as follows:
1. Accessing the Menu:
- Navigate to Pages > All Pages.
2. Editing the Checkout Page:
- Locate the Checkout page and click Edit.
3. Switching to Classic Checkout:
- Once in the editing mode, click on the Block option.
- From the dropdown menu, select Switch to Classic Checkout.
This action will revert your checkout page to the classic editor, ensuring that senangPay payment gateway appears correctly.


