Getting started : Joomla + HikaShop
A. Important Notes
1. Please take note that this tutorial is for:
- Merchants with Joomla site.
- Merchants with HikaShop Plugin already installed within the Joomla site.
2. Before you proceed with the tutorial, please take note of the steps that you will need to complete for the integration:
- Read the installation details here.
- Install the plugin to Joomla.
- Get your Merchant ID & Secret Key for integration from senangPay Dashboard.
- Insert your Merchant ID & Secret Key to your HikaShop setting in Joomla.
- Finally, test your shopping cart.
B. Download the senangPay Plugin
1. Please download the plugin from the WordPress site or github.
2. The files name is senangpay-payment-gateway-for-hikashop.
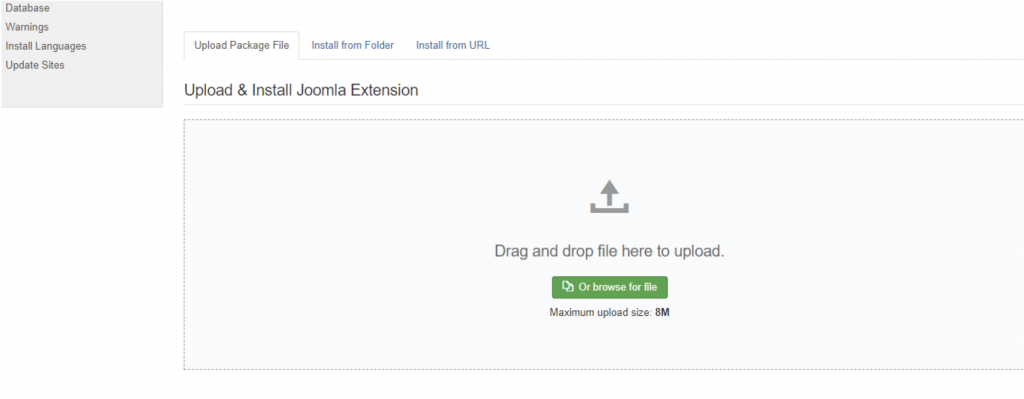
3. Install the Plugin in your Joomla under the menu Extension->Manage->Install
4. Upload the zipped plugin file
C. senangPay Shopping Cart Integration Link
Next, you need to get your merchant ID and Secret Key.
1. Login to your senangPay Dashboard.
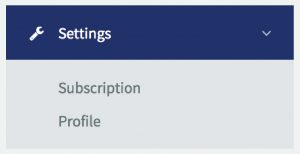
2. Go to Menu > Settings > Profile.
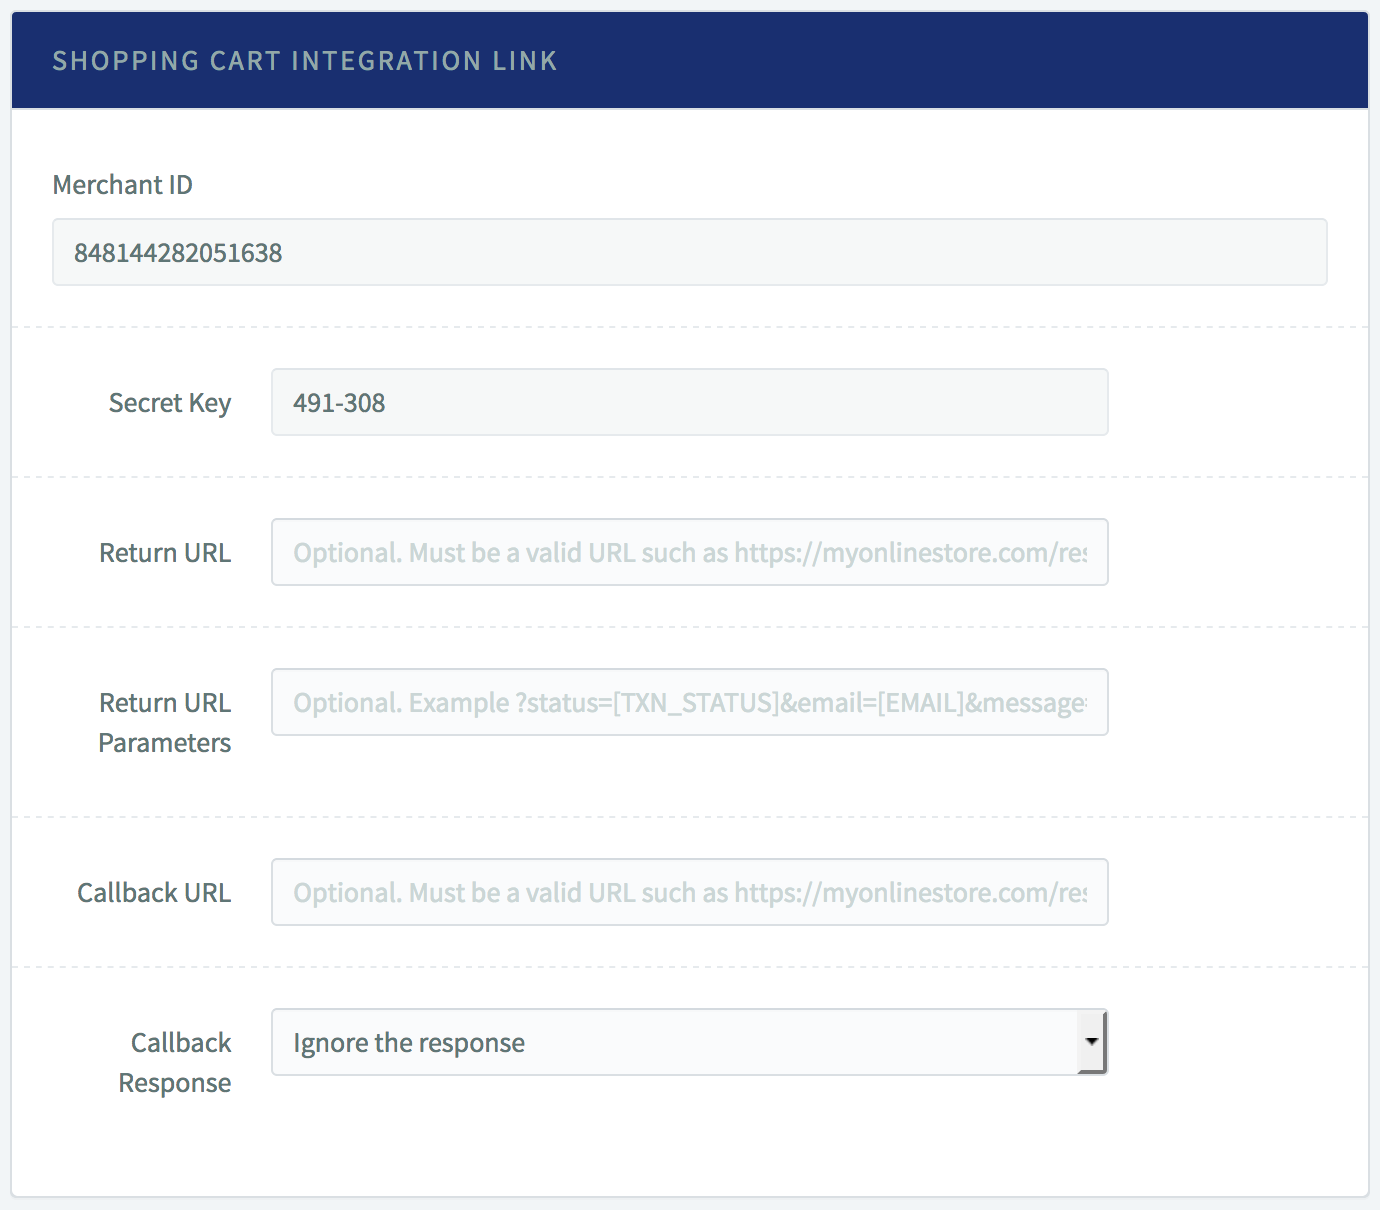
3. Scroll down the page until you see the “Shopping Cart Integration Link” section.
4. Copy the “Merchant ID” number and the “Secret Key” number.
5. Then you will need to fill in the return URL. This is the URL where senangPay will redirect the buyer to after the payment has been processed. The URL can be any of your site’s URL. For example:
http://your_domain.com/joomla/index.php?option=com_hikashop&ctrl=checkout&task=notify¬if_payment=senangpay&tmpl=component
to redirect the customer to the “thank you” page after payment.
6. Please set the callback URL to be the same as your return URL such as :
http://your_domain.com/joomla/index.php?option=com_hikashop&ctrl=checkout&task=notify¬if_payment=senangpay&tmpl=component
7. Please set the Callback Response to “Ignore the response”.
D. HikaShop Setting
Now, this is almost the last part of the set up. You need to setup your Hikashop setting.
1. Login to your Joomla site.
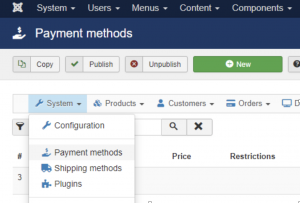
2. Go to the HikaShop Plugin Setting. Click System > Payment Methods
3. Click the ‘New’ button.
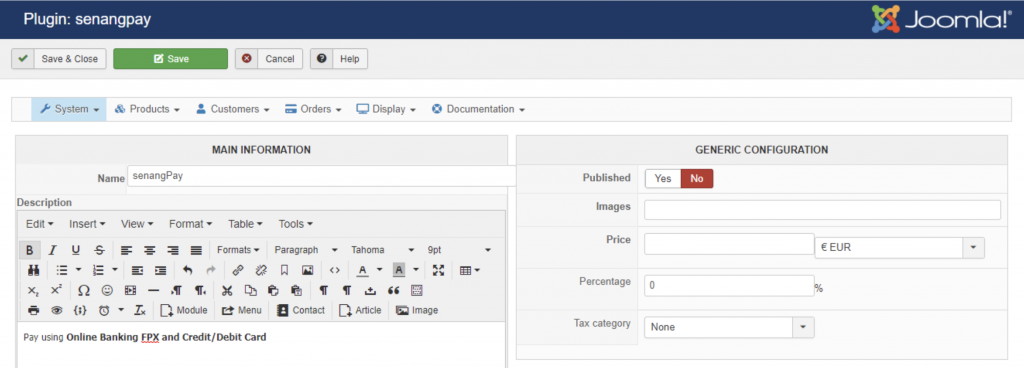
4. Under the section ‘GENERIC CONFIGURATION’ toggle Published to ‘YES’
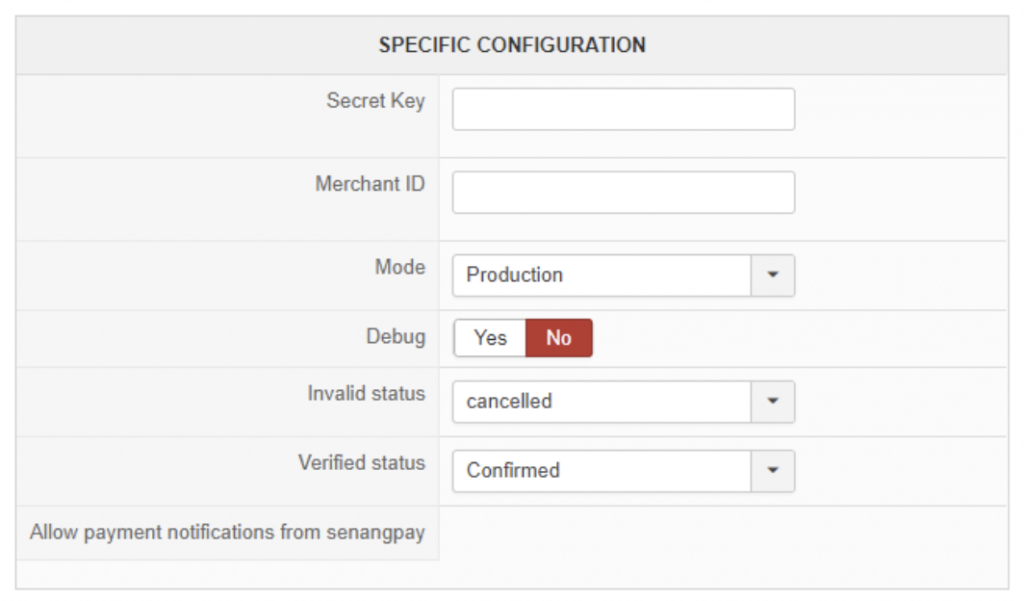
5. Under section ‘SPECIFIC CONFIGURATION’ fill in the Secret Key and Merchant ID. Choose Mode ‘Production’ if you are using Real senangPay Account or choose ‘use Sandbox’ if you are using senangPay sandbox Account.
6. Click the ‘Save & Close’ Button.
7. To have the senangPay logo at the checkout page, follow the steps below:
- Upload *logo-senangpay.png* file to */media/com_hikashop/images/payment/*
- Set it at Generic Configuration
E. Testing your integration
Now, this is the last part. You need to test whether your integration whether it is working or not.
1. Go to your Online Cart page.
2. Select any product, and add to cart.
3. Then, proceed to Checkout.
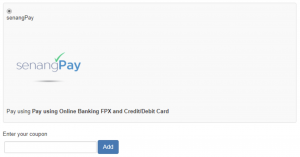
4. You should see that the payment option to pay with senangPay is visible.
5. Congratulations, your Online Business is now on another triumph level!

