A Unique Payment Form allows you as the business owner to add specific products, and lets you monitor each product transaction separately. This form allows you to set a fixed amount for each of your product.
1. However, unlike the Universal Payment Form, you need to “really” setup your Unique Payment Form to make it happen.
A. Setting up the Unique Payment Form
1. Go to Menu > Setting > Profile
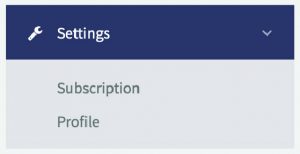
2. Scroll down to the section Unique Payment Form. You will see the instructions there.
B. Adding Product to the Unique Payment Form
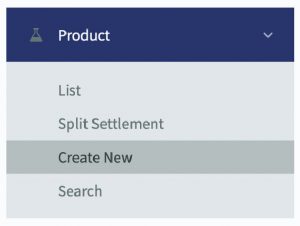
1. Go to Menu > Product > Create New
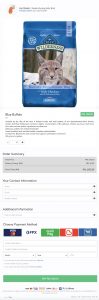
2. You will see the sections there. On the top section, insert all related information about your product.
![]()
3. Below are the details of the elements in the table :
| Item | Detail |
|---|---|
| Product Name | The name of your product |
| Product Price | The price of your product without GST and without delivery charge |
| Delivery Charge | The charge to deliver your product |
| Product Description | The information regarding your product |
| Product Code | Your inventory product code |
| Product Image | Upload your product image here |
| Product Info URL | In case you have a product description in your web or blog, you can insert the link here |
| SST Rate | Set the rate if you apply SST in your business |
4. Next, you need to set your delivery address and the size option if it is related to your business.
C. Delivery Address Request & Size Option
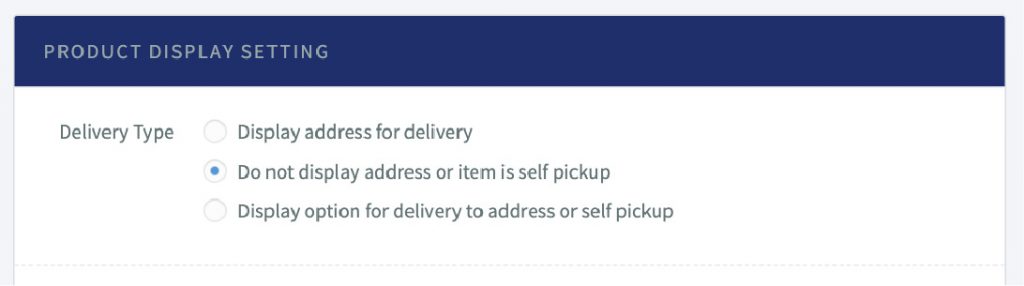
You can either set the delivery address request as active or inactive.
1. In the same page, same section, scroll down a little bit more.
2. Simply tick any delivery type you want .
3. If your business needs to have size options, simply tick any related size options. Below is an example of the form to select size options. You must select the specific sizes that you want to appear.
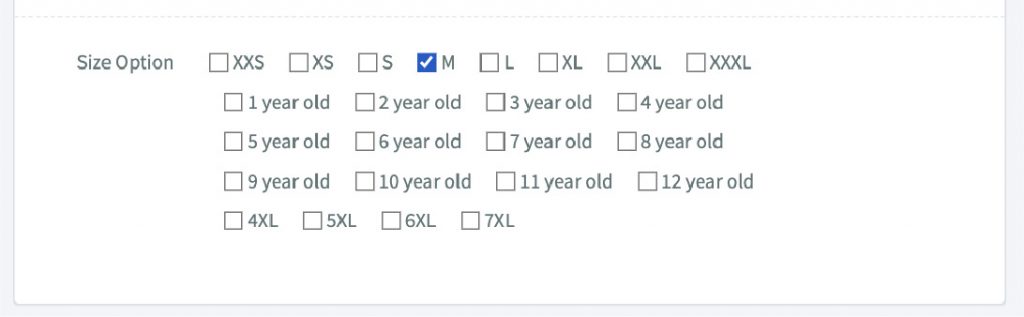
4. Finally, click “Create Product” when your product is ready to enter the system.![]()
5. Your product is now in the system.
D. Form Link & Button
Now, once your product has been added to the form, you can start using the form to receive payments. To get the link of your form,
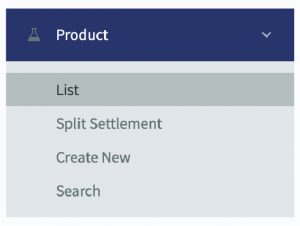
1. Go to Menu > Product > List
2. You will see a list of products. Click on the product name to see the detailed information about the product.
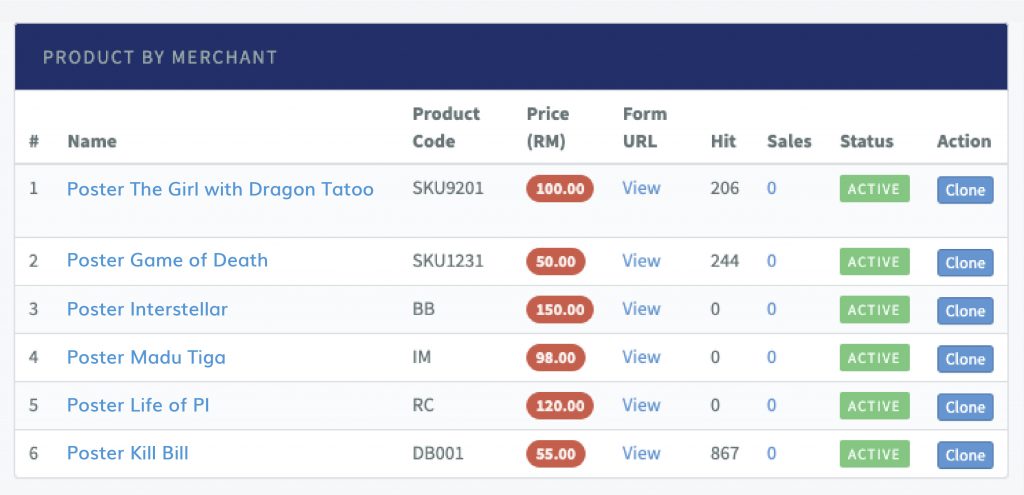
3. You will see your product info page.
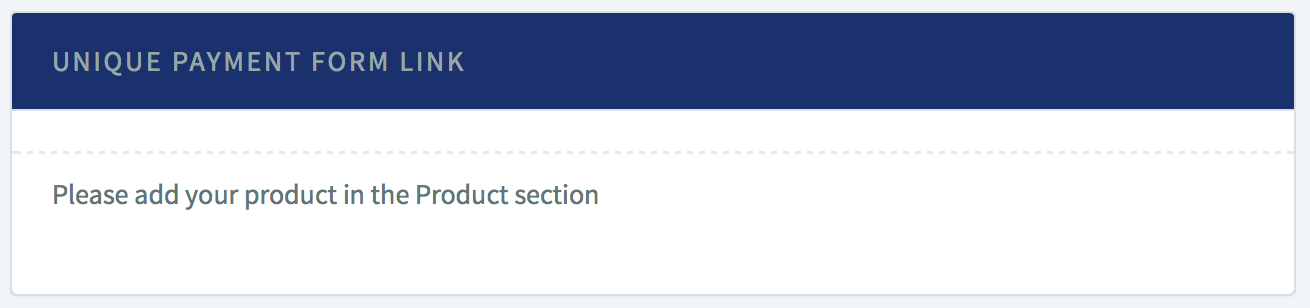
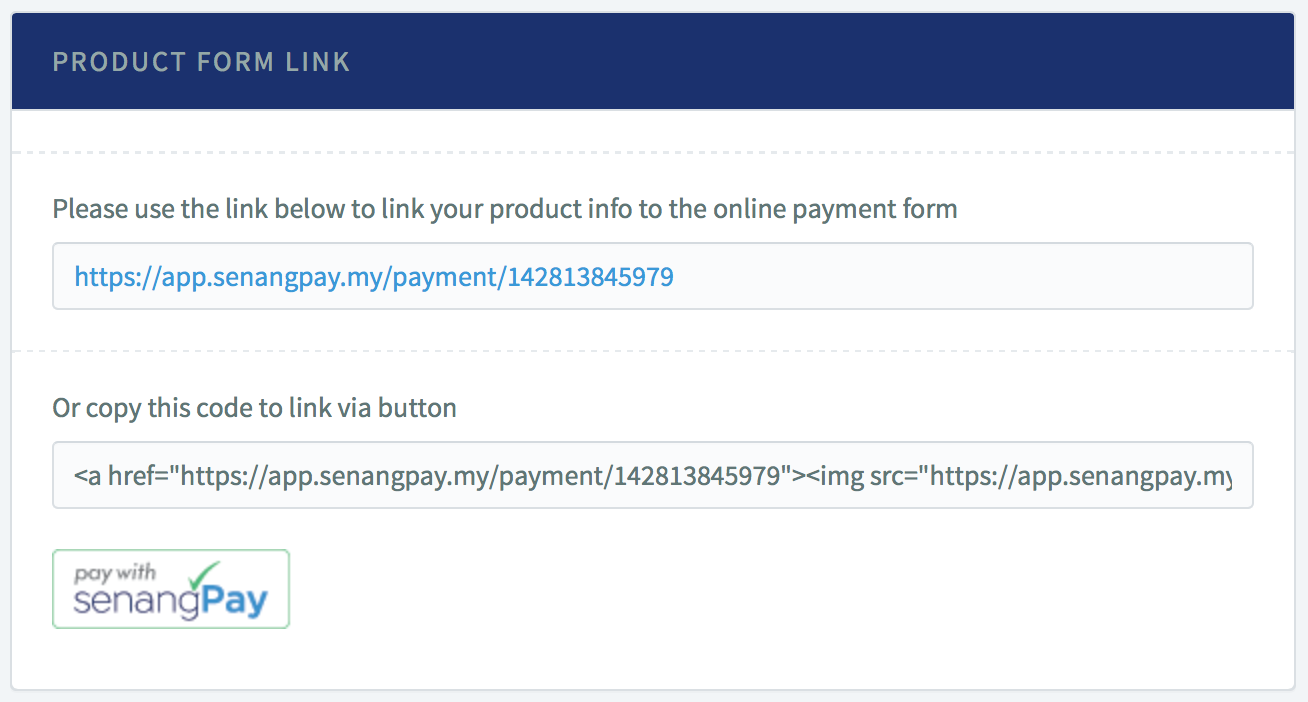
4. Next, refer to the Product Form Link section, you will see your Unique Product Form URL.
E. You can also use the “Pay with senangPay” button in your blog or web.
1. On the same section , refer to the HTML Code.
2. Copy this code and embed it in your blog or website.
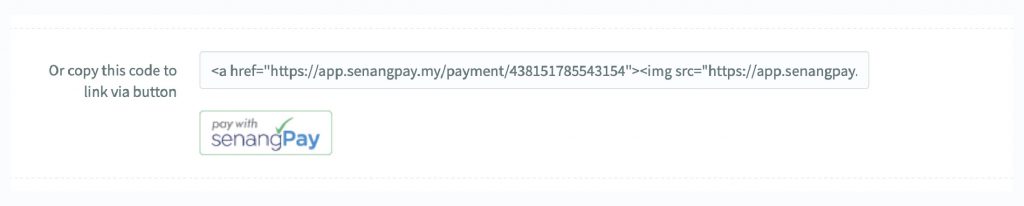
3. When your buyer click on this button, they will be redirected to your Unique Payment Form.
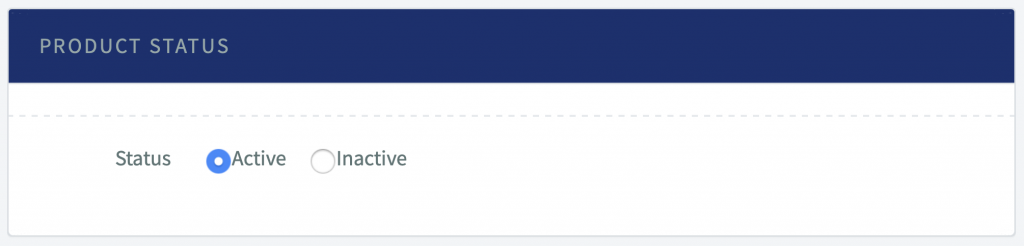
F. Set form active / inactive
You can set your product form to either active or inactive. This is for your own record to identify which form you are currently using or not using. By default, all of your Unique Payment Forms are active.
To set the form to be inactive,
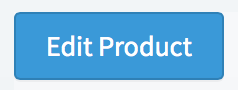
1. Scroll down the product info page, and click on the “Edit Product”.
2. Refer to the section Product Form Status.
3. On the status, click “Inactive”.

4. Click “Confirm Changes”.
G. Adding notes to the form
You can add misc notes to each form if you wish to. These notes are only for your eyes to view.
1. To add notes, on the same section click “Edit Product”.
2. Type in your notes.
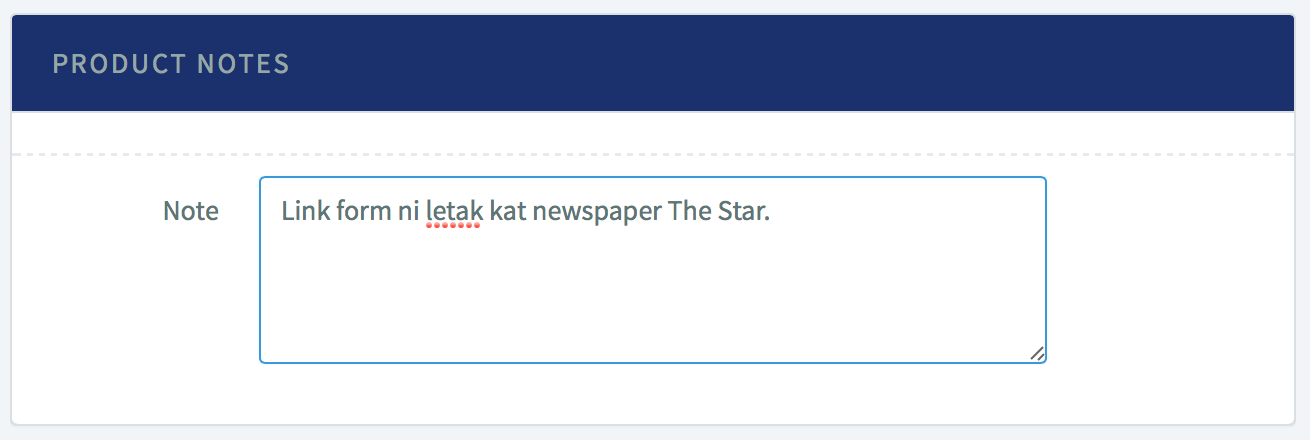
3. Then, click “Confirm Changes”.
4. Your notes will be frozen.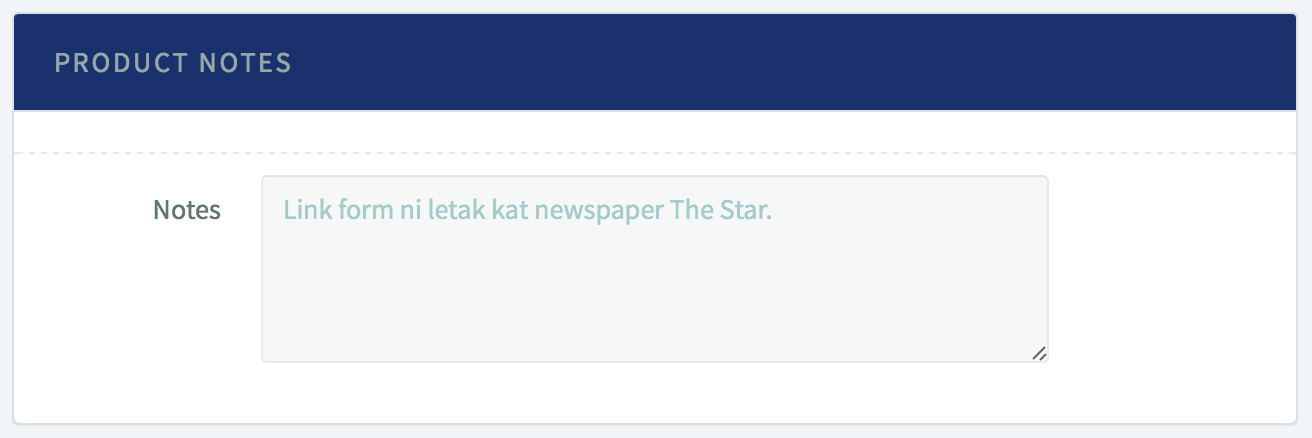
H. Optional Fields
You can send customers’ names, emails and phone numbers to the Unique Payment Form so that your customer do not have to key in their details again. You can send the info below using the POST or GET method.
Below are the details of the aforementioned items :
| Item | Detail |
|---|---|
| name | This is the name to populate in the payment form so that customers do not have to key in their names. This is optional and does not have to be a part of the hash. Customers are able to overwrite the value in the payment form. |
| This is the email to populate in the payment form so that customers do not have to key in their emails. This is optional and does not have to be part of the hash. Customers are able to overwrite the value in the payment form. | |
| phone | This is the phone number to populate in the payment form so that customers do not have to key in their phone numbers. This is optional and does not have to be part of the hash. Customers are able to overwrite the value in the payment form. |