Setting Up : Using Payment Form
Setting Up a Custom Additional Field in Payment Form
This feature is available for Advance & Special Package subscribers and applicable for Payment Form only
This feature allows you to add 3 additional fields in the Payment Form, which means, you can get more input from your customers, or you can offer more selections to your customers.
A. Payment Form without Custom Field
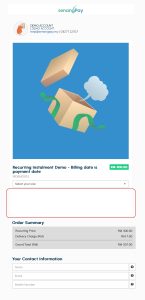
Below is the screenshot of a Payment Form that is without the additional custom field.
B. Payment Form with Custom Field
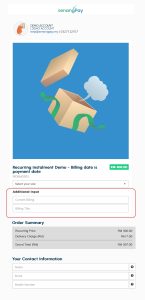
Below is the screenshot of a Payment Form with an additional custom field. Please refer to the new section “Required Additional Field.”
C. Options for custom field
1. Merchants can add up to 3 additional custom fields.
2. The fields can either be dropdown or text field.
3. For dropdown, we only allow a maximum of 6 options.
D. How to set
1. Login to your senangPay Dashboard.
2. You need to add your product first to enable this function or go to your existing product in the list.
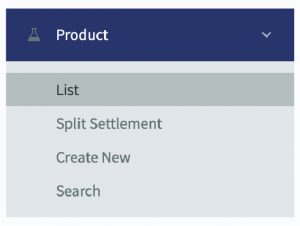
3. Go to Menu > Product > List
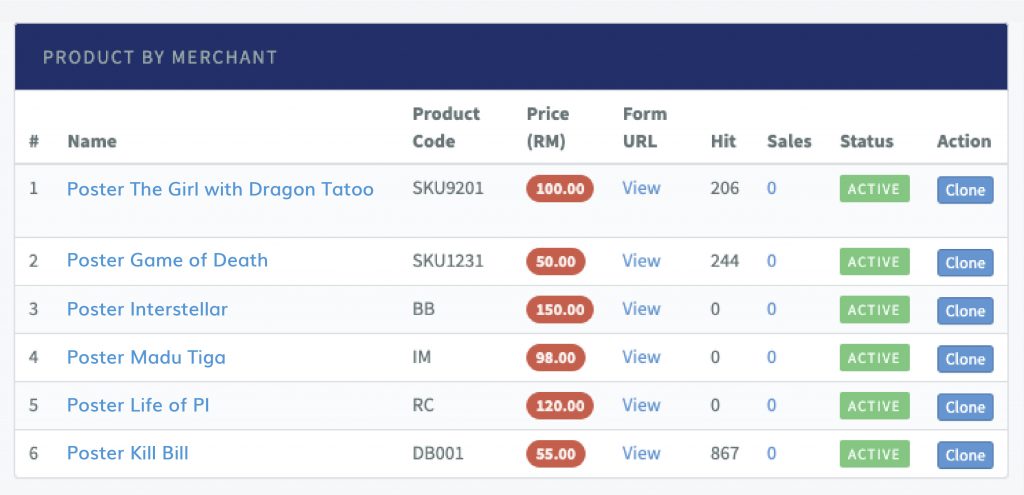
4. Select one of your products. Click on the product name.
5. Scroll down the page and click “Edit Product.”
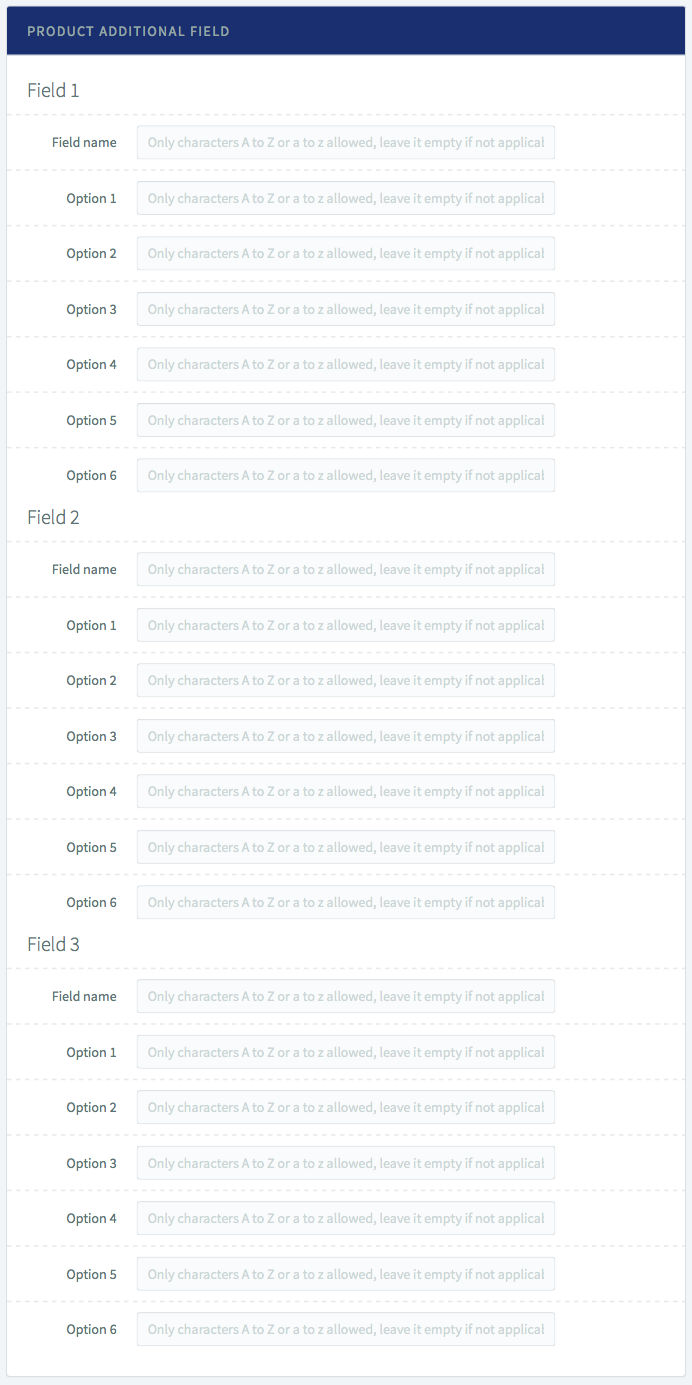
6. Now, on the Product Additional Field section, insert your preferred field.
7. Then save changes.
8. Go back to the product page and and check your Payment Form. You should see the additional field in your Payment Form. (as shown in B)
E. Additional Field Usage
1. You can either add 1, 2 or a maximum of 3 additional fields.
2. If you just want to use it as an input field, leave the option space blank.
3. If you want to use the additional field as dropdown, insert the option values.
4. It is not necessary to fill the option value until 6.
5. The value is alphanumeric (A – Z and 0 – 9).
F. Viewing the data input on your Dashboard
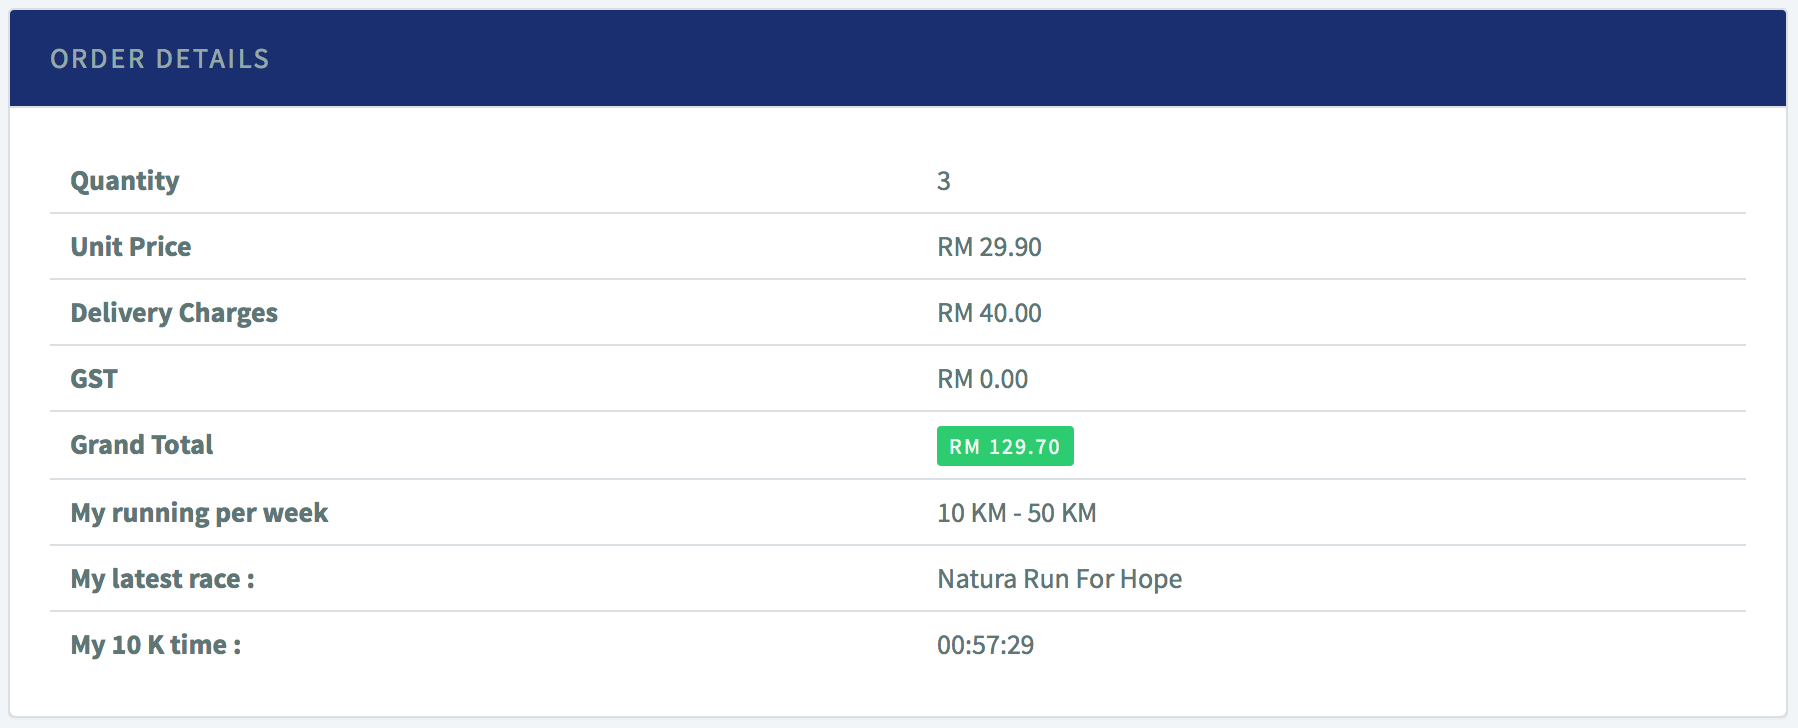
1. All additional fields will capture the data and display them on your Dashboard.
2. When a customer makes a payment, you will be able to see the value entered or chosen in the transaction detail page.

